KeePassXC Setup Guide
Follow the below directions once KeePassXC has been downloaded and installed to your device.
Creating Your First Database
To start using KeePassXC, you need to first create a database that will store the password and other details.
To create a database, perform the following steps:
-
Open your KeePassXC application. Click the create new database button (A):
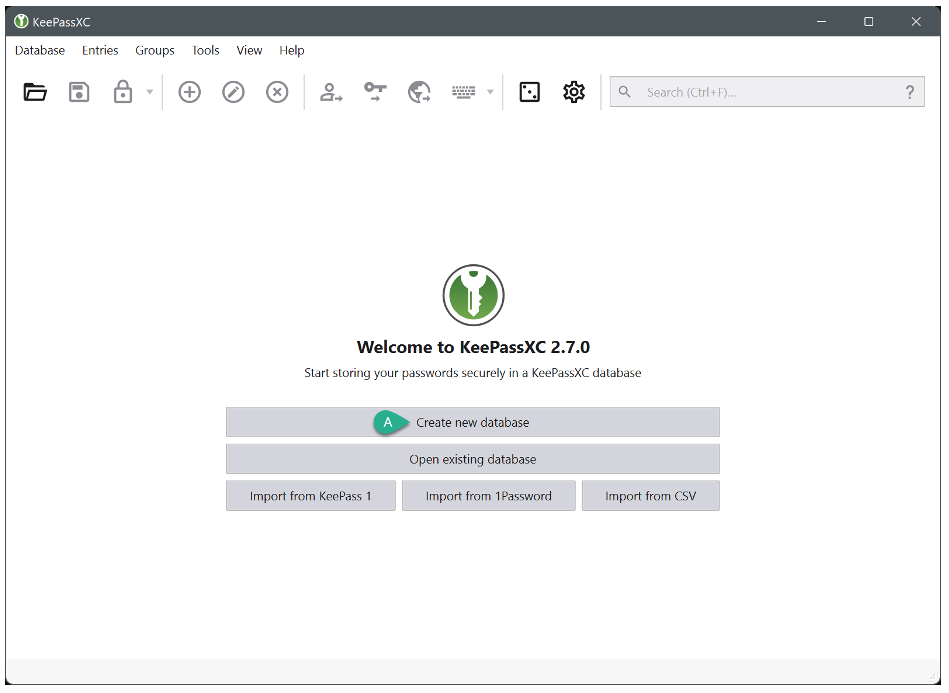 Figure 5. Create database – Welcome screen
-
The database creation wizard appears. Enter the desired database name (MedInform Itemized Statements) and a short description (optional):
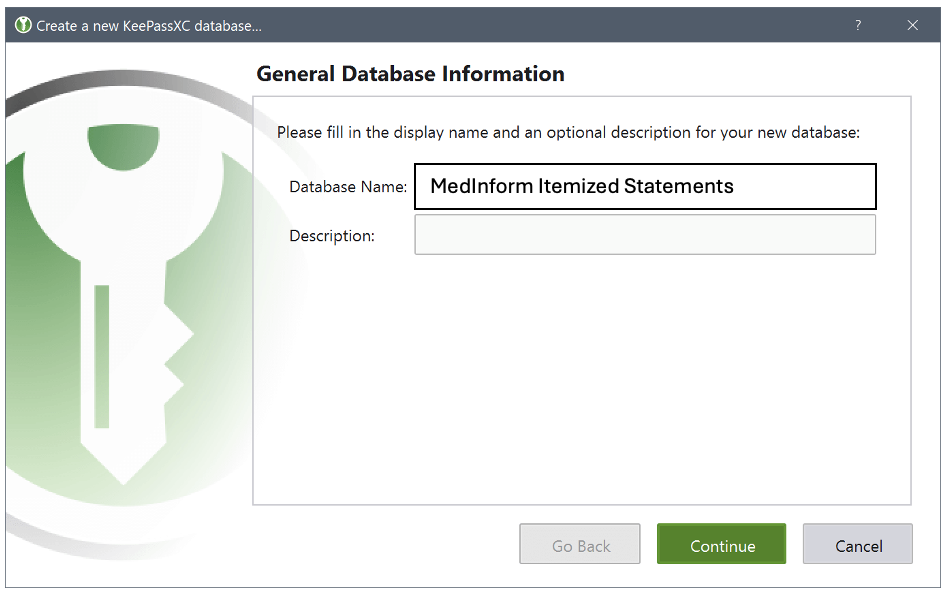 Figure 6. Create database – General information
-
Click Continue. The Encryption Settings screen appears, we don’t recommend making any changes besides increasing or decreasing the decryption time using the slider. Setting the Decryption Time slider at higher values means that the database will have higher level of protection but the time taken by the database to open will increase.
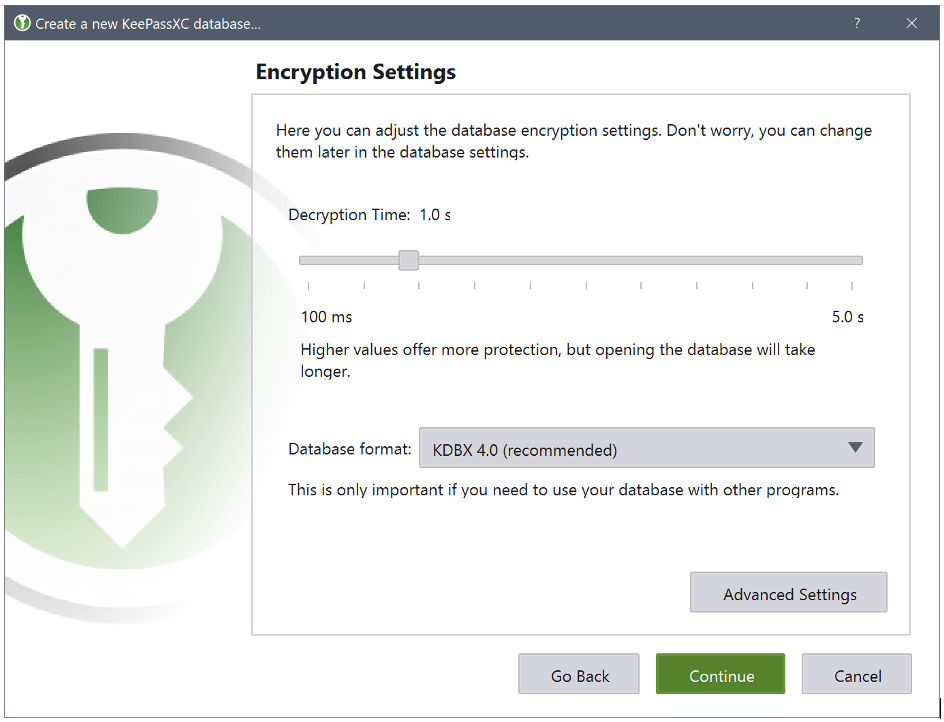 Figure 7. Create database – Encryption settings
-
Click the Continue button. The Database Credentials screen appears, enter your desired database password. We recommend using a long, randomized password. Be sure to save the password somewhere safe for future use.
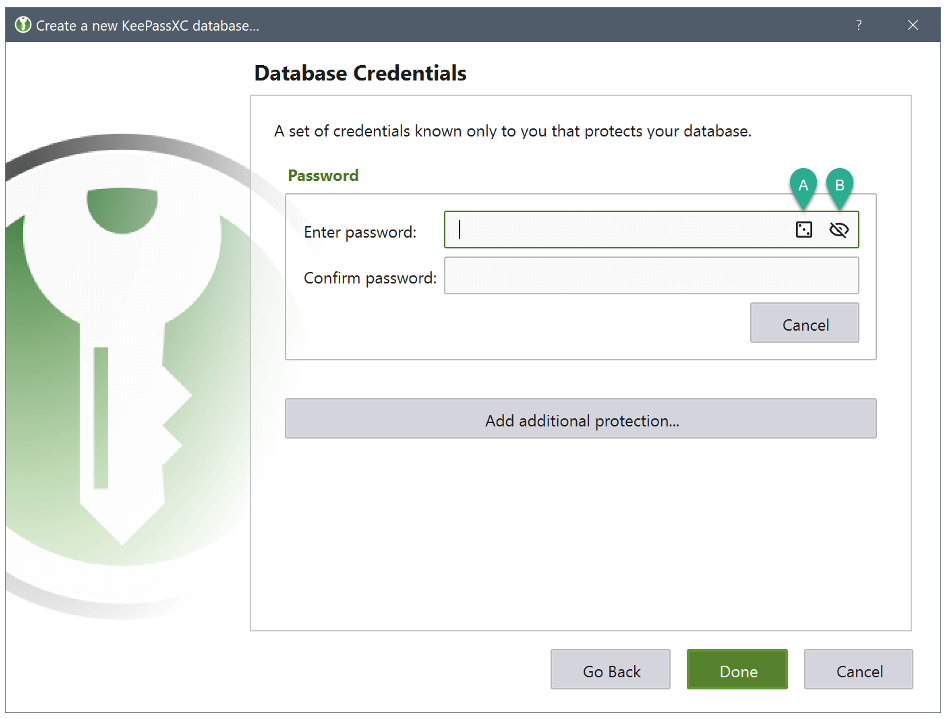 Figure 8. Create database – Database credentials
(A) Open the password generator(B) Toggle password visibility
Figure 8. Create database – Database credentials
(A) Open the password generator(B) Toggle password visibility
Keep this password for your database safe. Either memorize it or note it down somewhere. Losing the database password might result in permanent locking of your database and you will not be able to retrieve information stored in the database.
- Click Done. You will be prompted to select a location to save your database file. The database file is saved on to your computer with the default .kdbx extension. You can store your database wherever you wish, as it is always encrypted, preventing unauthorized access.
Adding an Entry
All the details such as usernames, passwords, URLs, attachments, notes, and so on are stored in database entries.
To add an entry, perform the following steps:
-
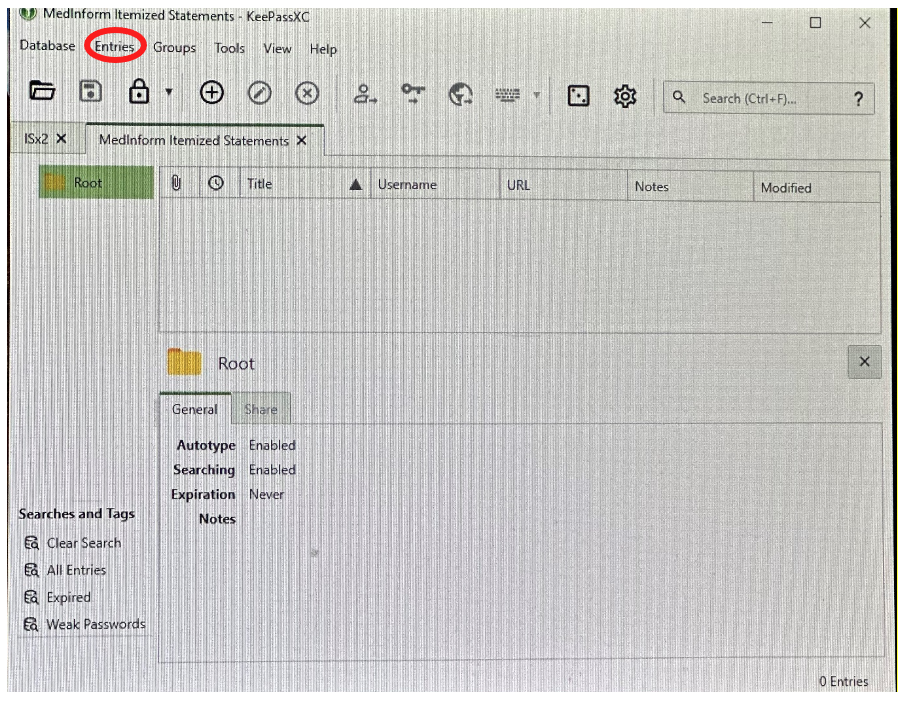
Select Entries > Select New Entry
-
The following screen appears:
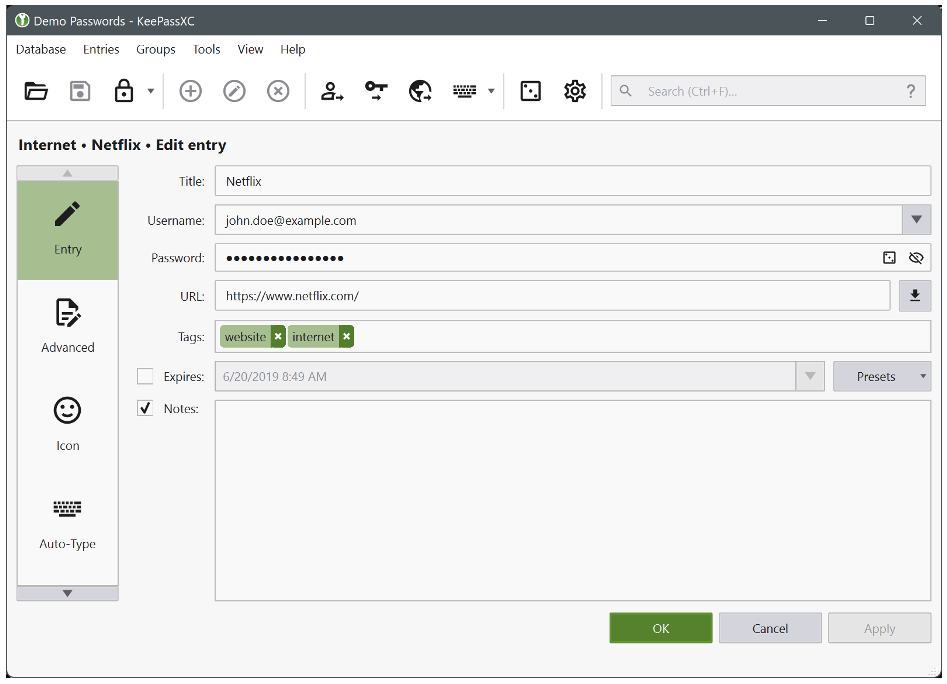 Figure 14. Adding a new entry
Title: MedInform Itemized Statements
Figure 14. Adding a new entry
Title: MedInform Itemized Statements
Username: your IS portal email address
Password: your IS portal password
URL: Copy the IS portal link: https://my.itemizedstatements.com/ - Click OK to add the entry to your database.
-
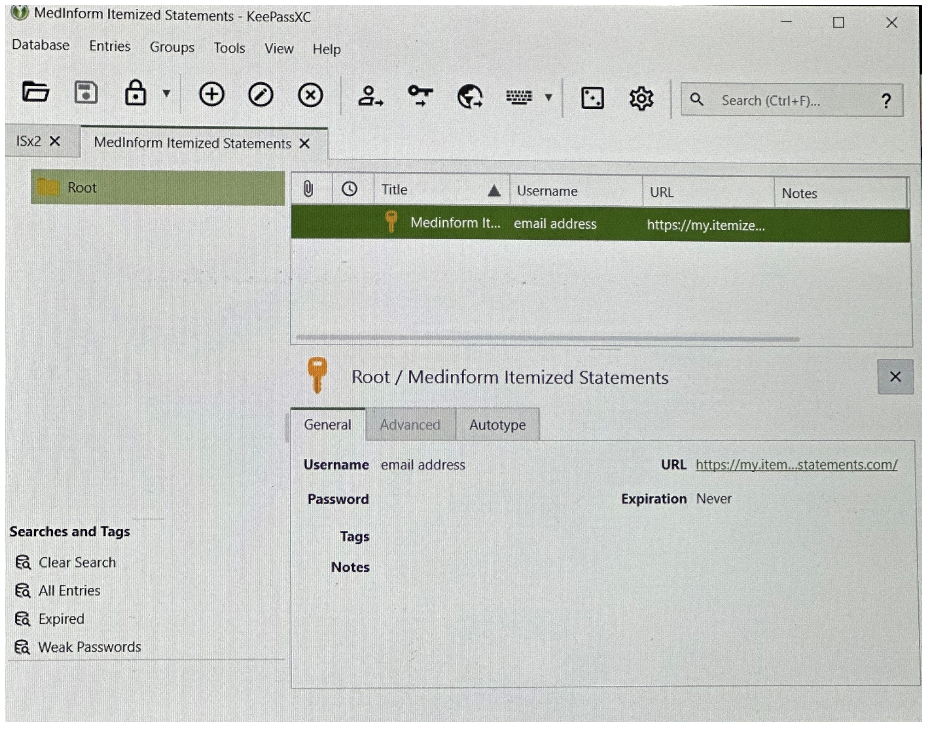
The screen will now show your entry as seen below
Adding TOTP to an Entry
Timed One-Time Passwords (TOTP) are a popular choice for two-factor authentication methods. These codes are typically six digits long and change every 30 seconds. They are derived from a shared secret value and the current time. Once set up, KeePassXC can calculate TOTP codes like any authenticator app, such as Google Authenticator. The codes can be used with copy/paste, browser extension, and Auto-Type.
-
To add TOTP to a database entry, you must first retrieve the secret string from the Itemized Statements website. Select the “Reveal Key” button, to reveal the key to be copied.
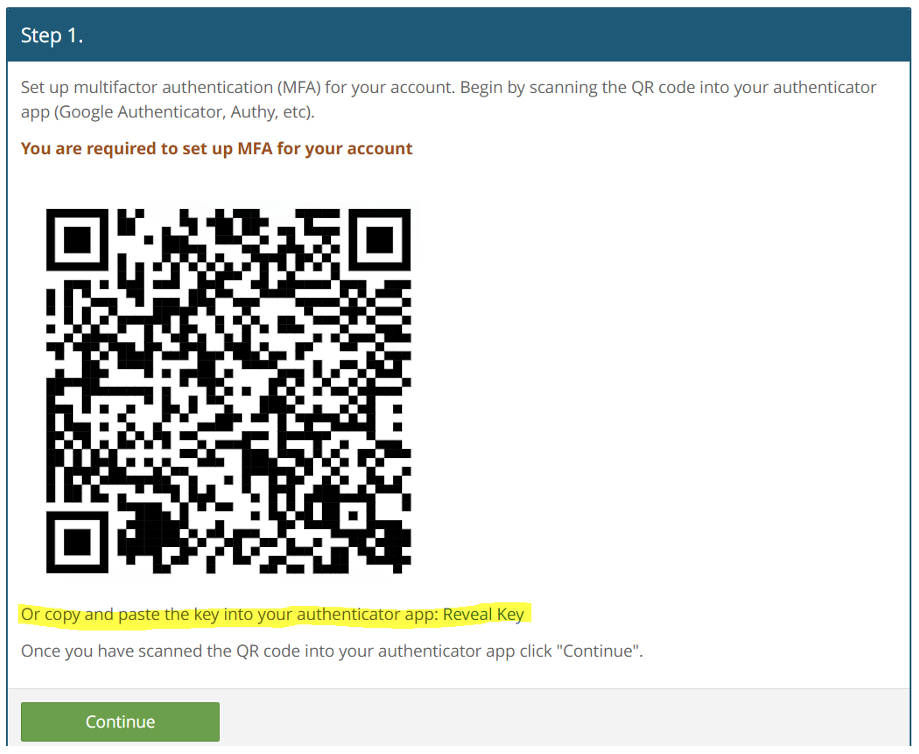 Figure 15. MedInform Reveal Key Screen
-
Once obtained, right-click the desired entry (1),
choose TOTP → Set up TOTP… (2),
and the setup dialog will appear. In that dialog, paste the secret code from the website (3),
setup any custom settings (rare) (4),
then press OK to save the settings.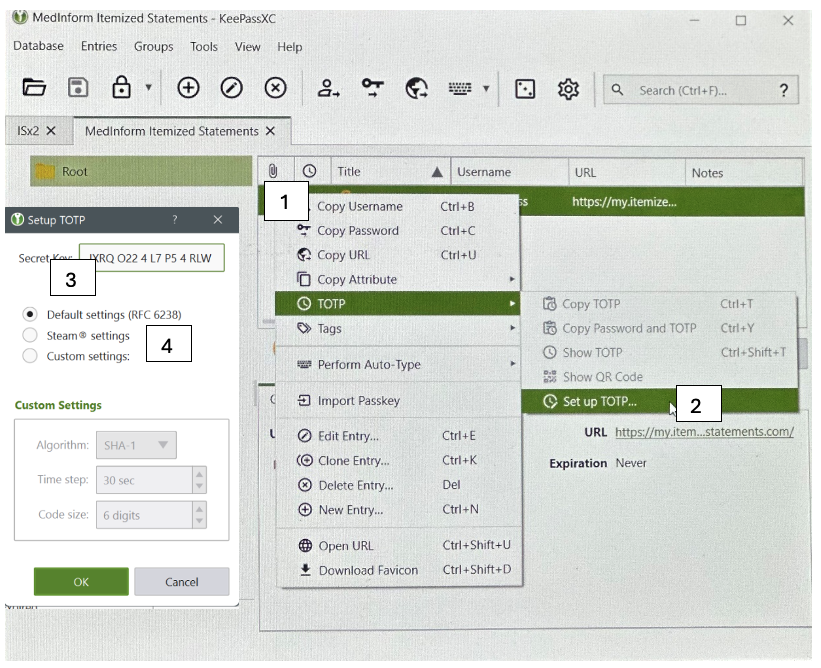 Figure 16. TOTP Setup Process
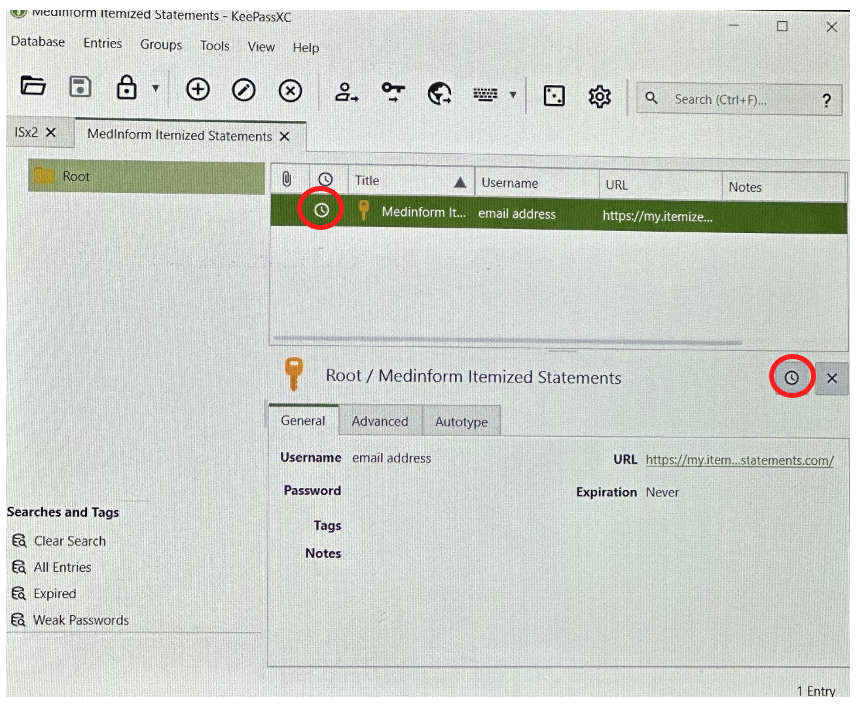
- After an entry is configured with TOTP, you will see a clock icon in that entry’s row.
-
Click the clock icon under the entry box to reveal the code and count down. The count is how long the code is valid to allow entry into the Itemized Statements Portal.
- Navigate back to the MedInform Itemized Statements Portal.
-
You will be prompted to answer a security question and enter the code from the KeePassXC

- You will have access to submit your itemized requests.
Keep track of your KeePassXC username and password, as you will be prompted to provide the TOTP code each time you sign into the portal.